Why Is My Shrimp Rubbery? Easy Fix Guide
If your rubbery shrimp bounce like erasers, you are not alone. Shrimp overcook in under a minute, and wet shrimp steam instead of searing. The good news is that fast, careful cooking fixes it every time.
This guide covers drying, heat, timing, and chilling. You will learn why shrimp turn tough and how to keep them tender and juicy. Every fix uses basic tools and takes minutes. The fix works really fast.
Once your shrimp stay tender, the next wok dish may need the same care, so keep the fried rice guide handy for crisp, separate grains in every batch with steady heat.
Why Shrimp Turn Rubbery

Most tough shrimp are simply overcooked. The proteins tighten fast once the heat passes 140 degrees, and each extra minute squeezes out more juice. Once the shrimp curl into tight rings, the damage is done.
Wet shrimp make it worse, since surface water steams the shrimp instead of searing it. In my experience, the fix is drying the shrimp well and pulling them off the heat early. Tender shrimp are slightly underdone when they leave the pan, and carryover heat finishes them. Watch the shrimp closely because they cook fast and turn tough in seconds.
Cook Shrimp in Minutes

Shrimp cook faster than almost any protein. A hot pan and two minutes per side is all most shrimp need. Follow these steps for tender results. Shrimp cook in two to three minutes at most, so stay by the stove the whole time and pull them early.
- Pat the shrimp very dry with paper towels.
- Heat the pan until the oil shimmers.
- Add shrimp in one layer without crowding.
- Cook 90 seconds per side, then remove at once.
Watch the Curl Closely

Quick Tip: Watch the shape, not the clock. A loose C means done, a tight O means overdone, and a straight line means underdone.
The curl test never fails. Shrimp start straight, curl into a C as they cook, and tighten into an O when they pass the point. Pull them at the C stage, when the flesh is just opaque. They will finish in the residual heat while they rest, and stay juicy.
Fix Overcooked Shrimp

Common Mistake: Many cooks keep overcooked shrimp on the heat, hoping they will soften. More heat only tightens them further.
The Fix: Stop the cooking and add moisture. A cold shock, then a quick toss in sauce, makes tough shrimp more pleasant.
Rescue cannot fully undo overcooking, but it helps. Chill the shrimp in ice water for a few minutes to stop the tightening, then slice them and toss in a rich sauce. Smaller pieces and a glossy coating hide the texture, and the dish will still taste good.
Buy and Prep Right
What You Need:
- Large shrimp: more forgiving than small ones, with a wider cooking window.
- Paper towels: drying is the key step for a good sear.
- A wide pan: gives shrimp room so they sear instead of steam.
- Tongs: turn each shrimp fast and gently.
- Ice water: stops the cooking the moment shrimp leave the pan.
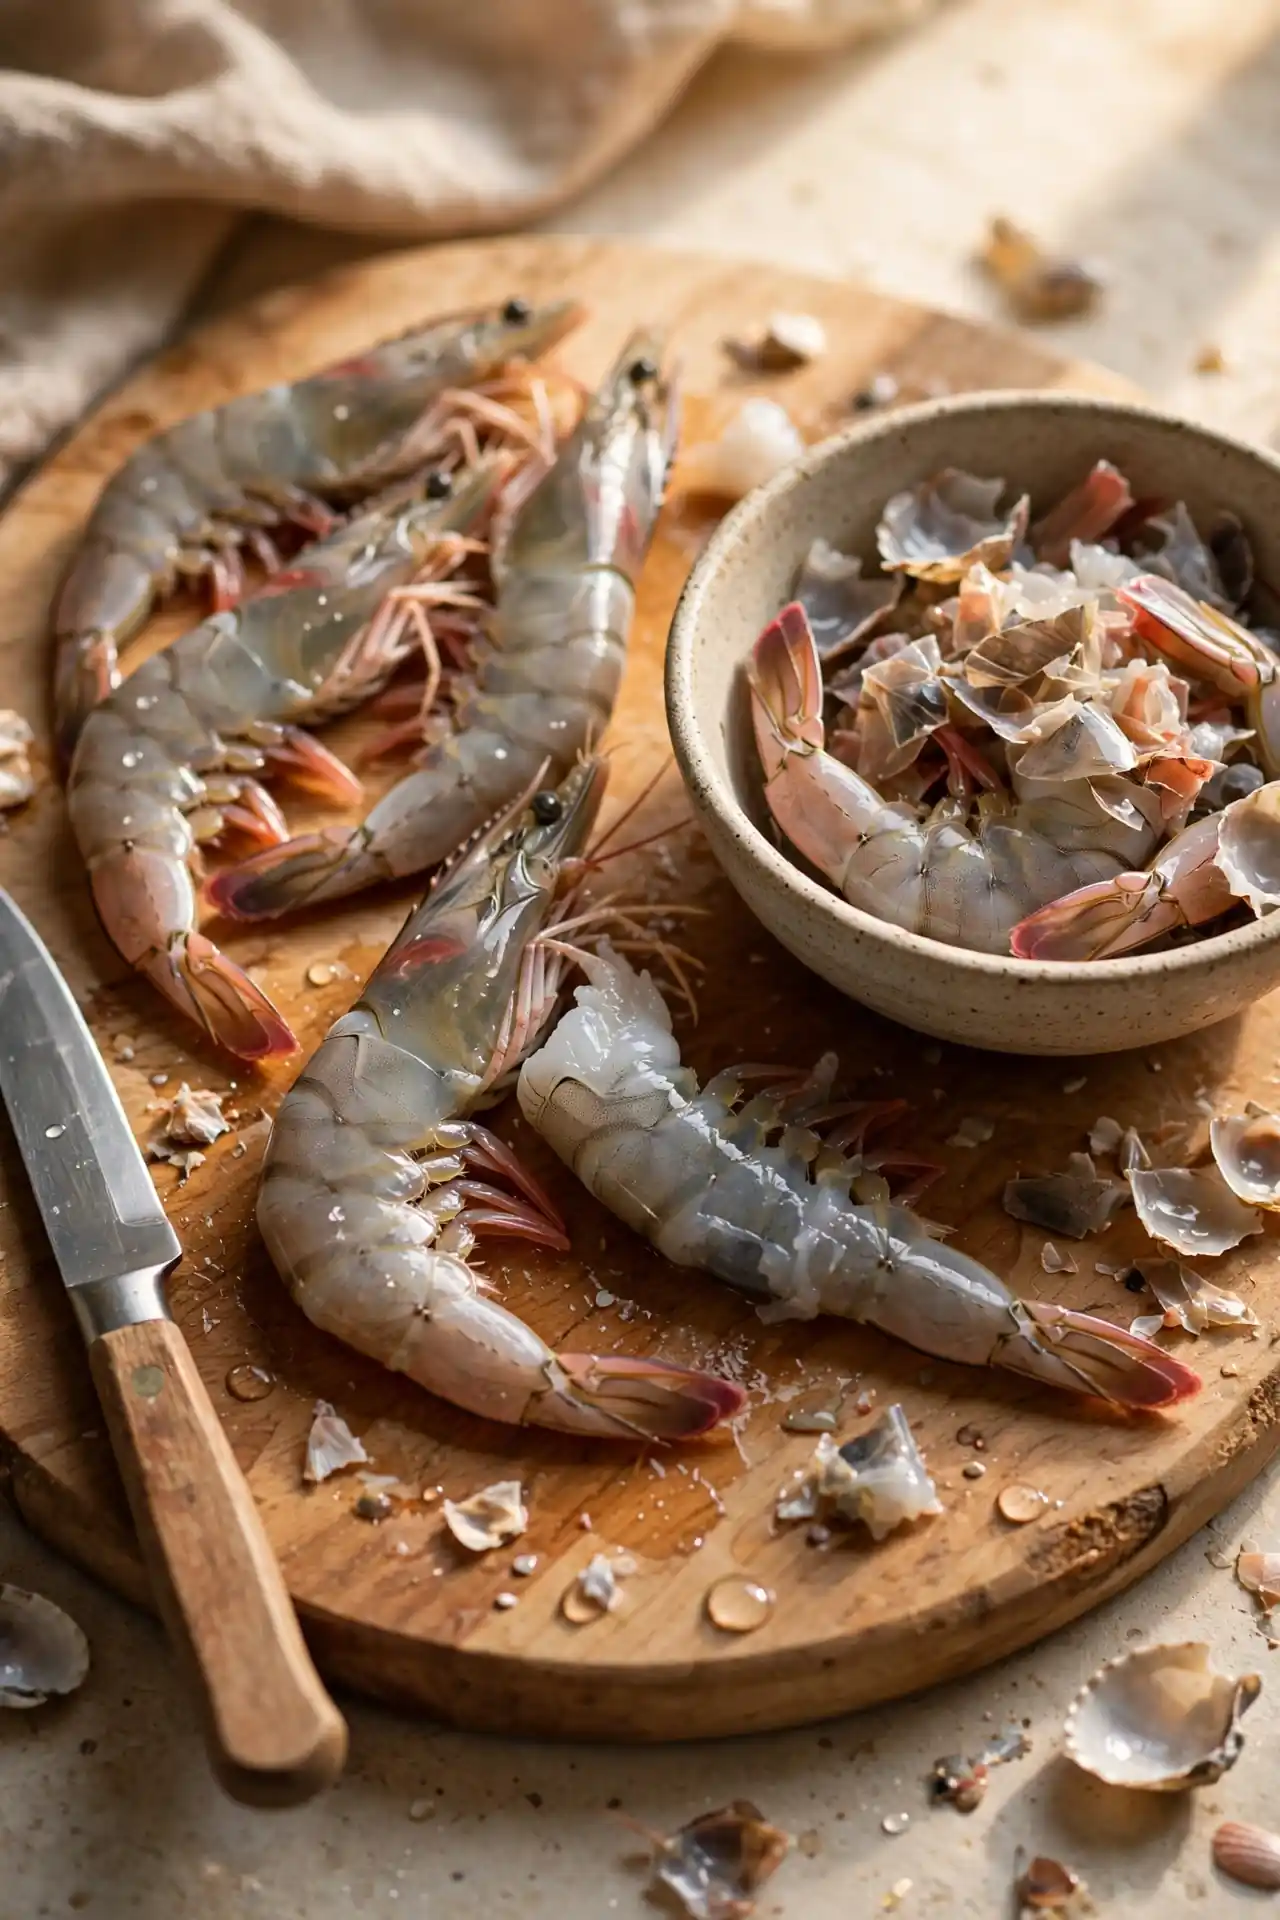
Prep decides the result. Peel and devein before cooking, and pat the shrimp dry twice if they feel wet. Dry shrimp sear in seconds and stay tender, while wet shrimp steam into rubber. Buy the largest shrimp you can for the most forgiving cook. Pat the shrimp dry before they hit the pan.
Before Rubbery After Tender

Before: The shrimp curl into tight rings. The flesh is dry and bouncy, and each bite feels chewy.
After: The shrimp rest in loose C curves. The flesh is plump and juicy, and each bite is tender.
The change comes from drying, heat, and timing, not from a new recipe. Pat dry, sear fast, and pull at the C stage. Those habits turn rubbery pink shrimp into a dish worth serving. A hot pan and dry shrimp give a quick sear without steaming the whole batch in its own liquid.
Do and Don’t Basics

Do This:
- Pat shrimp very dry before cooking.
- Use high heat and a wide pan.
- Pull shrimp at the loose C stage.
- Rest shrimp briefly before serving.
Avoid This:
- Do not crowd the pan.
- Do not cook from soaking wet shrimp.
- Do not leave shrimp on the heat while plating.
- Do not cook small shrimp as long as large ones.
These habits keep shrimp tender from pan to plate. Dry shrimp, hot pan, and an early pull are the whole secret. Once the routine is set, juicy shrimp become the normal result. Do not walk away while shrimp cook, since a single extra minute turns tender shrimp rubbery and tough.
Quick Shrimp Facts
Time Needed: 5 minutes cooking plus 10 minutes prep.
Difficulty: Easy, with attention to timing.
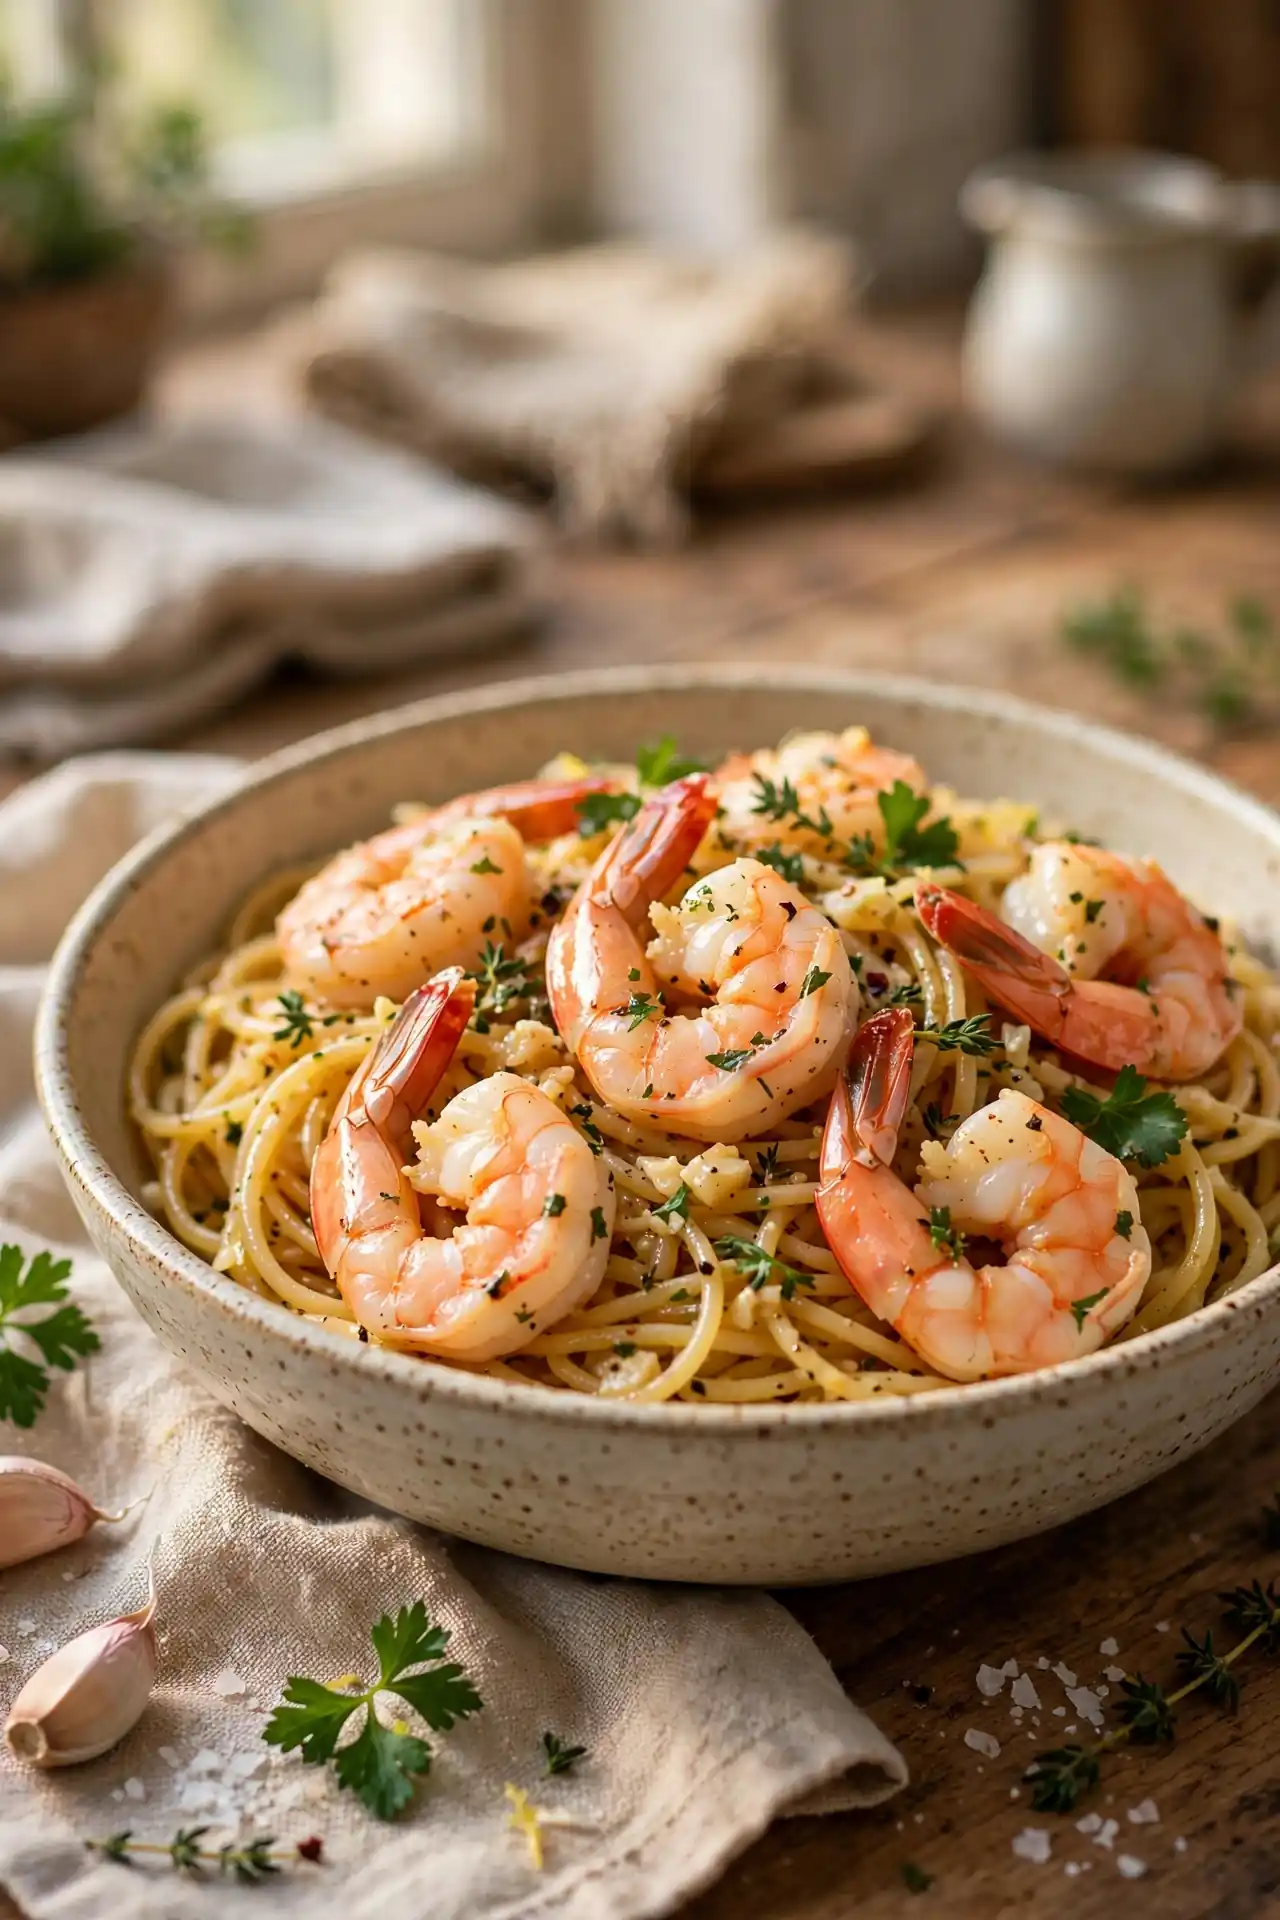
Best For: Pasta, tacos, stir fries, and grilling.
Pro Tip: Brine for 15 minutes for extra juiciness.
A quick salt water brine helps shrimp stay juicy even if they cook a little long. Dissolve a tablespoon of salt in cold water, soak the shrimp for 15 minutes, then pat dry. The shrimp will season through and hold more moisture in the pan.
Use a Cold Shock

A cold shock stops the cooking the instant shrimp leave the heat. Carryover heat is what pushes tender shrimp into rubbery ones, and ice water halts it fast. Use the shock for shrimp salads and cold dishes.
Keep the shrimp in ice water for two minutes, then drain and pat dry. For hot dishes, skip the ice and simply pull the shrimp a little early. Either way, the goal is the same: stop the heat before the proteins tighten. An ice bath stops the cooking instantly and keeps the shrimp plump and tender for serving.
Rescue a Tough Batch
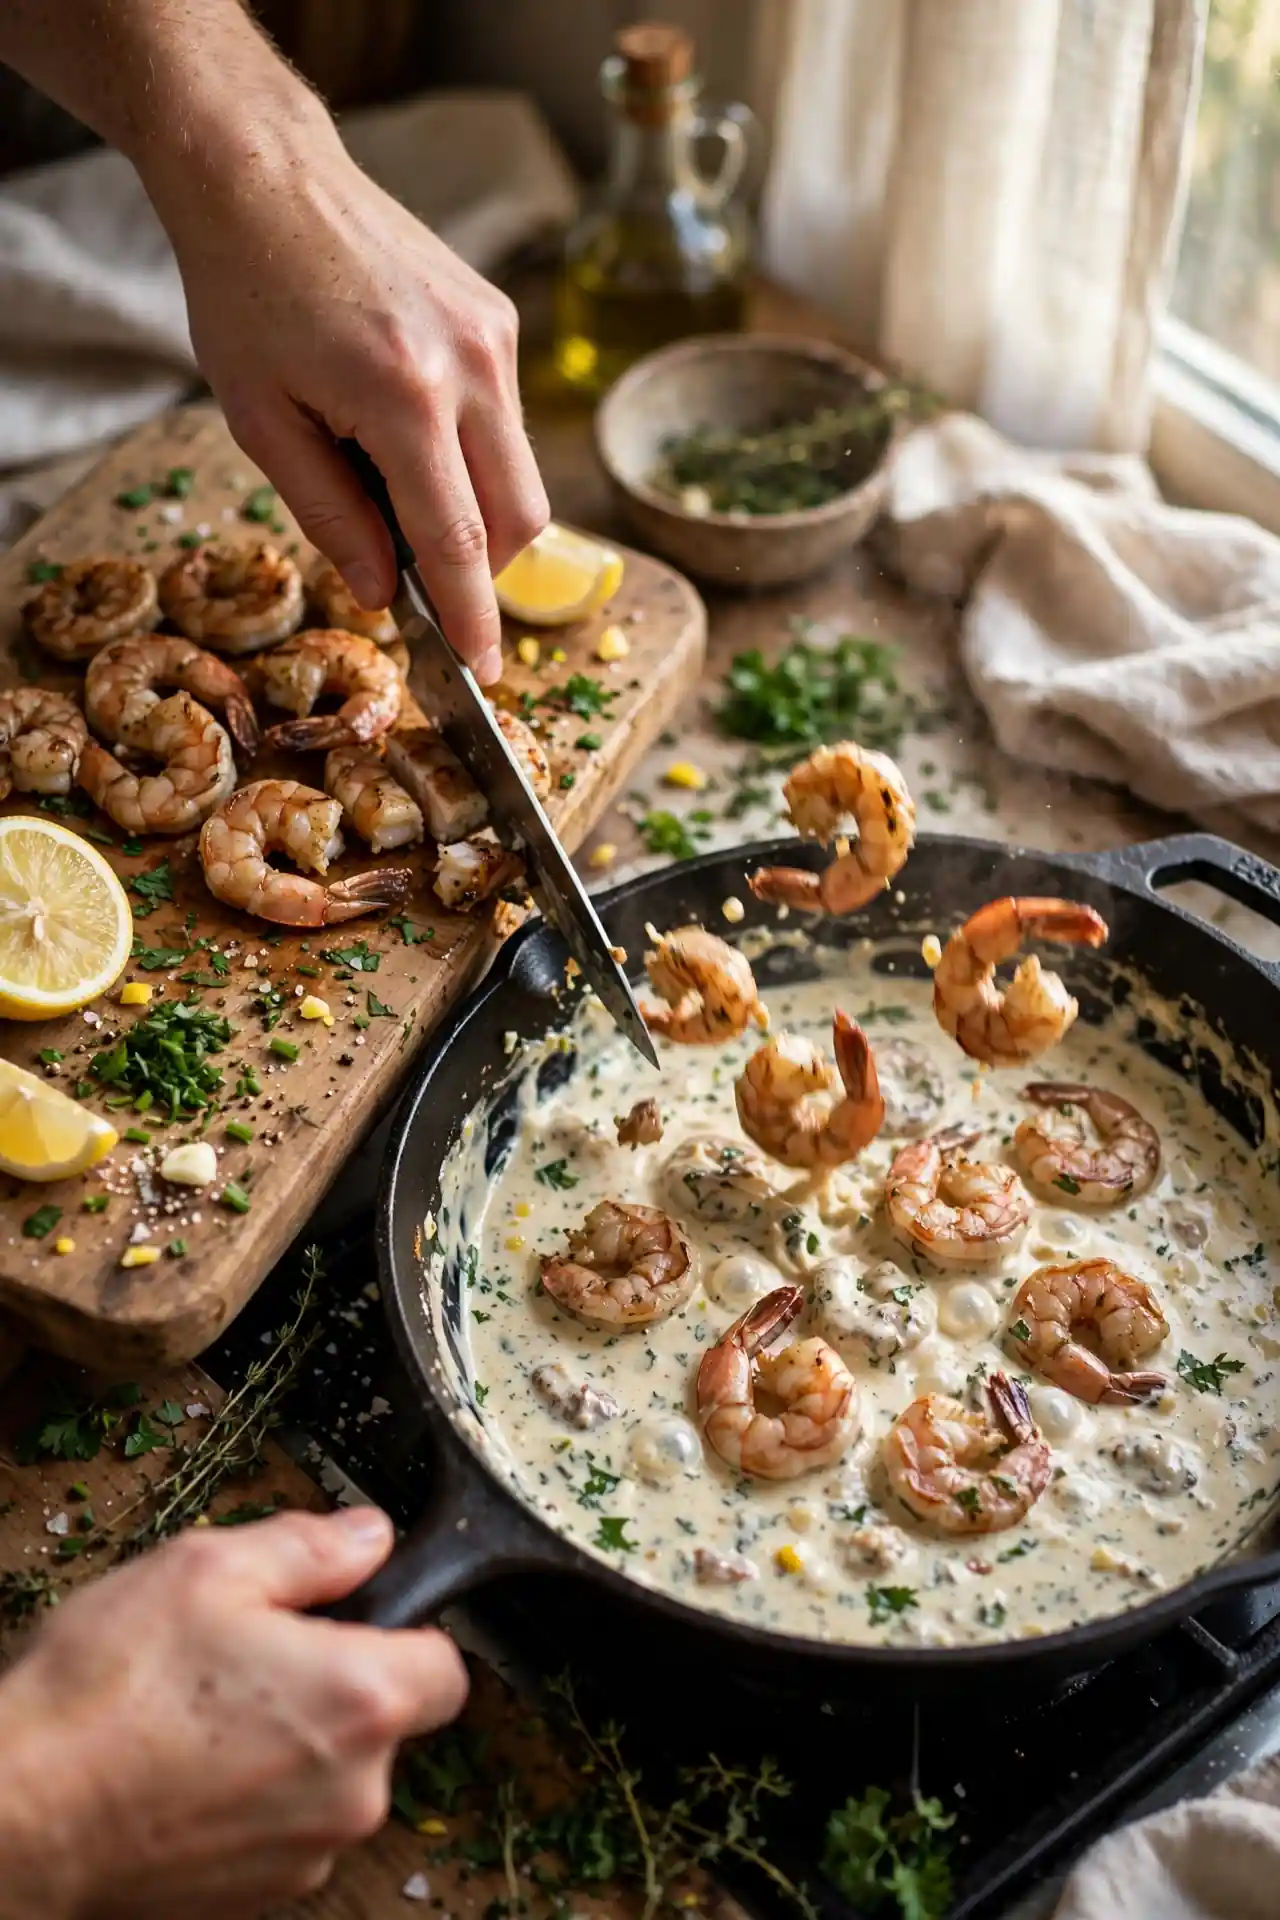
A tough batch can still be saved with slicing and sauce. Smaller pieces feel less chewy, and a rich sauce adds the moisture that overcooking removed. Pull shrimp at the first sign of pink, and remember they keep cooking off the heat for another full minute.
- Cool the shrimp quickly in ice water.
- Slice each shrimp in half lengthwise.
- Toss in a warm butter, garlic, or cream sauce.
- Add lemon and herbs for brightness.
- Serve at once over pasta or rice.
Serve Them Perfectly

Quick Tip: Serve shrimp the moment they are ready. Shrimp keep cooking on a hot plate, so a fast serve protects the texture you just saved.
Serving fast is the last step of the cook. Plate the shrimp on a warm, not hot, dish, and add garnish at the last second. If the shrimp must wait, keep them off the heat and covered loosely. The same shrimp will taste far better served fresh than left standing.
Conclusion
Fixing rubbery shrimp comes down to drying well, cooking fast, and pulling them early. Those three habits give plump, juicy shrimp in minutes. Once they are routine, tender shrimp take no extra effort.
Work through these fixes one at a time, and your next batch will show the difference. Keep notes on what worked, so the fix gets easier every time you cook.
Watch the curl, and trust the C stage over the clock. For another dish where timing rules everything, see the beef stew guide, then serve your shrimp while they are still juicy.