Why Does My Sponge Cake Shrink After Baking? Easy Fix Guide
If your shrinking sponge cake sinks and pulls away, you are not alone. Overbeaten eggs, rough folding, and fast cooling all deflate the cake. The good news is that gentle handling and patient cooling fix it.
This guide covers beating, folding, pans, and cooling. You will learn why the sponge shrinks and how to keep it tall and light. Every fix uses basic tools and pantry staples. The fix works really fast.
Once your sponges stay tall, the next dough may need the same care, so keep the bread dough guide handy for smooth, workable bread dough in every batch with steady heat.
Why Sponge Cakes Shrink
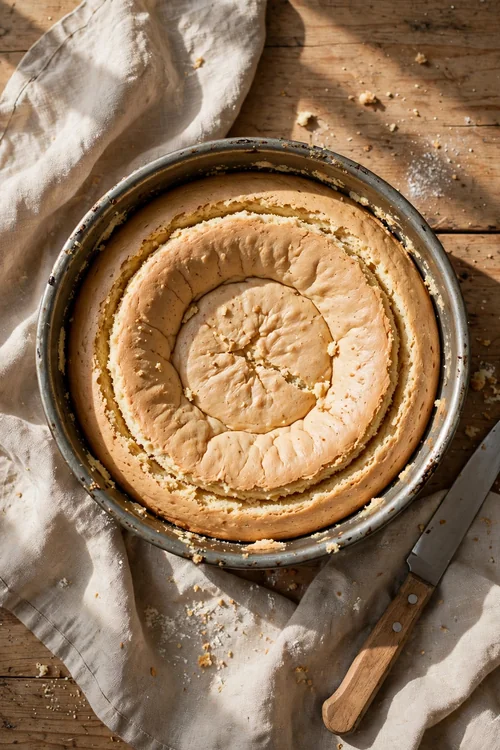
Most sinking sponges lose their air before the crumb sets. Eggs beaten too stiff, flour folded too roughly, or a door slammed mid bake can all collapse the foam. Once the air escapes, the cake cannot rise again. Gentle handling from bowl to oven keeps the foam intact. Treat the foam with care at every step.
Fast cooling makes it worse, since the hot cake contracts as it hits cool air. The fix is gentle folding and slow, upside down cooling. A sponge cooled upside down keeps its height while it sets, and gravity works for you.
Beat Eggs Just Enough

Beating to the ribbon stage gives a stable foam. The eggs should fall in a thick ribbon that holds its shape for a few seconds. Beat on medium high, watch the color turn pale, and stop at the ribbon stage. Follow these steps for a foam that lasts.
- Beat eggs and sugar on medium high for 5 to 7 minutes.
- Stop when the mix is pale, thick, and tripled in volume.
- Lift the whisk and check for a slow ribbon trail.
- Fold in the flour at once, before the foam settles.
Fold Without Deflating
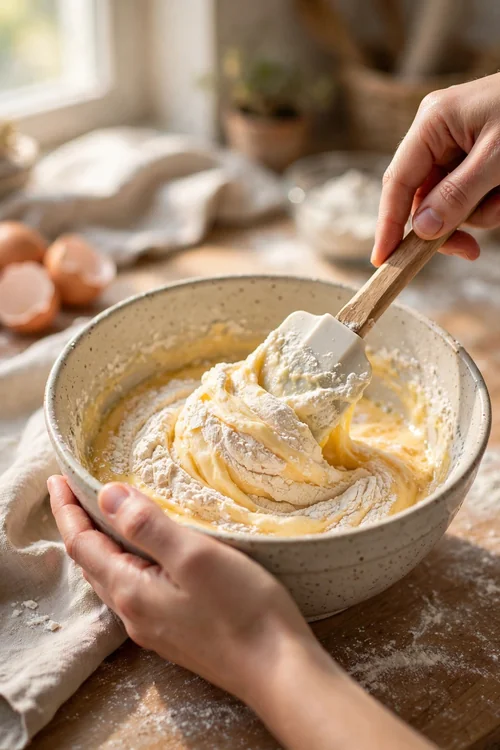
Quick Tip: Cut down, scoop under, and lift up. One slow folding stroke keeps more air than ten fast stirs.
Folding is where most sponges fail. Stirring knocks out the air you just beat in, while gentle folding keeps it. Sift the flour over the foam, fold in three additions, and stop as soon as the flour vanishes. A few streaks are better than a deflated batter, and they bake out.
Fix a Sunken Cake

Common Mistake: Many cooks open the oven door to check the cake. The rush of cool air collapses the foam before it sets.
The Fix: Leave the door closed until the cake is set. Test through the window, and open only near the end.
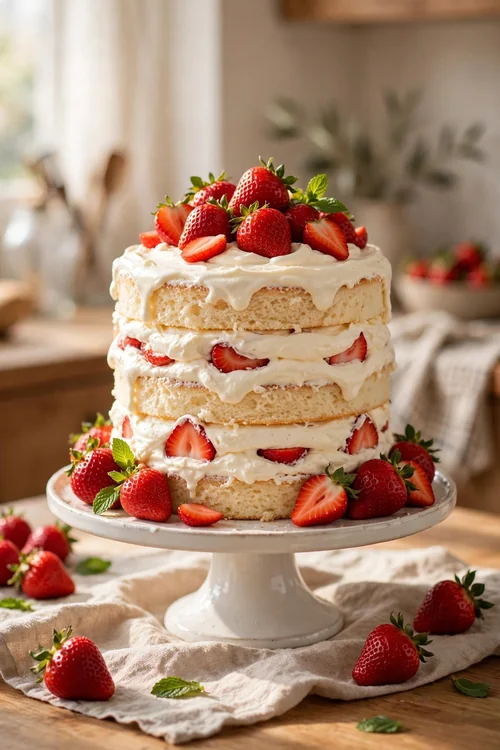
Rescue for a sunken cake is about presentation, and it works well. Level the top, add cream and fruit, and the cake will still taste wonderful. For the next bake, fold gently, keep the door closed, and cool the cake upside down. The same cake that sank can still serve beautifully.
Line Pans Correctly

What You Need:
- A light metal pan: bakes evenly without overbrowning.
- Parchment paper: lines the bottom only, so the cake can climb.
- A large spatula: folds gently without deflating the foam.
- A wire rack: holds the pan upside down for cooling.
- A sieve: sifts flour evenly over the foam.
Pan prep matters more than it seems, and the sides matter most. Greased sides let the batter slide down, while ungreased sides let it grip and climb. Line only the bottom with parchment, and leave the sides clean. The sponge will rise taller and hold its height through cooling every time.
Before Sunken After Tall
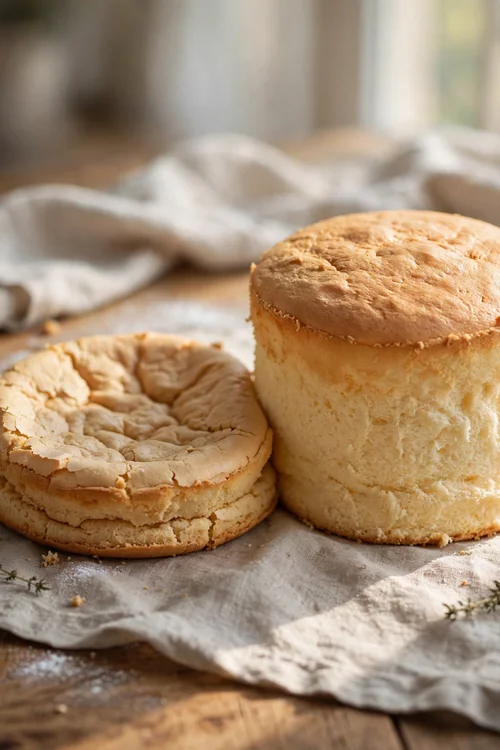
Before: The cake is flat and sunken. The crumb is dense, and the sides pull away from the pan.
After: The cake is tall and light. The crumb is airy, and the cake holds its height.
The change comes from gentle folding, clean pan sides, and upside down cooling, not from a new recipe. Fold slowly, leave the sides ungreased, and cool inverted. Those habits turn a sunken sponge into a tall one, and the difference shows at the first slice. Keep the routine steady, and tall sponges follow every time.
Do and Don’t Basics
Do This:
- Beat eggs to the ribbon stage.
- Fold flour in gently.
- Leave pan sides ungreased.
- Cool the cake upside down.
Avoid This:
- Do not overbeat the eggs.
- Do not stir the batter.
- Do not grease the pan sides.
- Do not open the oven early.
These habits keep sponges tall from bowl to plate, and they work for every bake. A stable foam, gentle folding, and slow cooling are the whole secret. Once the routine is set, tall sponges become the normal result at your table. Repeat the routine, and tall sponges follow every time.
Quick Sponge Facts

Time Needed: 25 minutes baking plus 1 hour cooling.
Difficulty: Medium, with attention to folding.
Best For: Birthdays, trifles, and tea time.
Pro Tip: Weigh the eggs for the best balance.
Sponge cakes work best when the eggs, sugar, and flour are balanced by weight, not by cups. Weigh the eggs first, then match the sugar and flour to that weight. The batter will be stable, and the cake will rise evenly every time. A small scale removes the guesswork from every bake.
Cool Cake Upside Down

Cooling upside down is the trick that saves the height, and it works for every sponge. Gravity pulls the cake down into the pan instead of letting it shrink, and the crumb sets tall. Invert the pan onto a rack the moment it leaves the oven, and leave it alone.
Leave the cake inverted for at least one hour. A warm cake will still sink if turned early, so wait until the pan feels cool. Once cool, run a knife around the edge and release the cake. It will hold its height on the plate.
Rescue a Flat Cake

A flat cake can be saved with layers and cream, so do not toss it out. Sliced thin, filled well, and chilled, it will taste like a planned dessert. Layers hide the sink, and cream adds the height back. Follow these steps to turn a flat cake into a dessert.
- Cool the cake fully, then slice it into thin layers.
- Brush each layer with a little syrup.
- Spread whipped cream and fruit between layers.
- Chill for one hour to set.
- Serve in slices or as a trifle.
Serve It Light
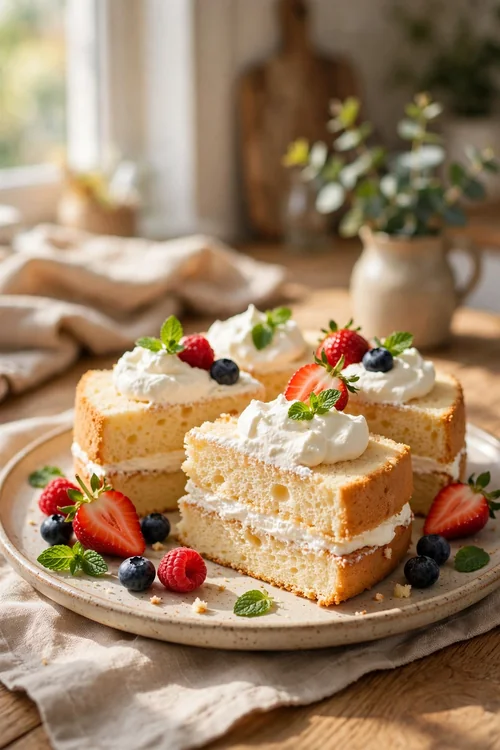
Quick Tip: Serve sponge cake with light toppings. Heavy frosting crushes the airy crumb, while cream and fruit keep it light.
Serving lightly protects the texture you built, so keep the toppings light. A thin layer of cream, fresh fruit, and a dusting of sugar are all a sponge needs. Keep the slices and the toppings light. The same cake will taste far better served airy than weighed down, and guests will love the light crumb.
Conclusion
Fixing shrinking sponge cake comes down to gentle folding, clean pan sides, and upside down cooling. Those three habits give tall, light sponges. Once they are routine, tall cakes take no extra effort.
Work through these fixes one at a time, and your next batch will show the difference. Keep notes on what worked, so the fix gets easier every time you cook.
Fold slowly, keep the oven closed, and cool inverted. For another batter that needs a gentle hand, see the cake batter guide, then serve your sponge while it is still light.