Why Is My Apple Pie Watery? Easy Fix Guide
If your watery apple pie turned out swimming in juice and soggy, you are not alone. Wateriness comes from juicy apples, too little thickener, and cutting the pie before the filling sets. The fix usually comes down to a few small choices you can change next time.
This guide walks through what went wrong, the exact steps that fix it, and the habits that keep it from happening again. Spot the weak step, adjust it, and test the result with a small batch first.
Work through the sections in order, or jump to the fix that matches your batch. For another rescue, see pumpkin pie fixes and keep building your skills.
Why Apple Pie Waters

Three small habits cause most wateriness. That single weak step often explains the whole result, and once you see it, the fix feels clear. In my experience, cooks blame the recipe when the real issue is one small habit that is easy to change.
Precook the filling briefly, use enough cornstarch, and cool the pie fully before slicing. Try the change on a small test batch first, then compare it side by side with your usual method. The difference will tell you whether you found the true cause or only part of it.
Pick Firm Apples

Firm, tart apples hold their shape and release less juice than soft, mealy ones. Follow the steps below in order, and give each one your full attention. Rushing the early steps is how the same problem comes back, so slow down where it counts.
- Toss sliced apples with sugar and cornstarch.
- Cook the filling for 8 minutes.
- Fill the crust while the filling is hot.
- Vent the top crust and bake at 400 F.
Precook The Filling

Quick Tip: Wait for thick bubbles in the vents before you pull the pie. Thin, fast bubbles mean the filling has not set yet. Write the tip on your recipe card so you remember it next time.
A brief precook thickens the juices before the pie even bakes. Keep the tip in mind while you work, and check the result before you move to the next step. Good cooking is mostly good timing, and a quick pause to look, smell, and taste will catch most trouble early.
Thickener That Works

Common Mistake: Many bakers slice a warm pie, which pours its juices across the plate and leaves the crust soggy. The right thickener only works once the pie cools long enough for the filling to set.
The Fix: Cool the pie for at least 3 hours so the filling sets, then slice and serve without a flood. A long cool lets the thickener bind every spoonful of juice.
The right thickener turns juice into glossy filling instead of soup. Cornstarch sets clear and firm, while flour can stay cloudy and soft. Toss the apples with thickener and sugar, then rest the mix for ten minutes. The sugar draws out juice, the starch hydrates, and the filling sets as it bakes.
Vent The Top

What You Need:
- Slit vents: Five short slits across the top let steam escape evenly.
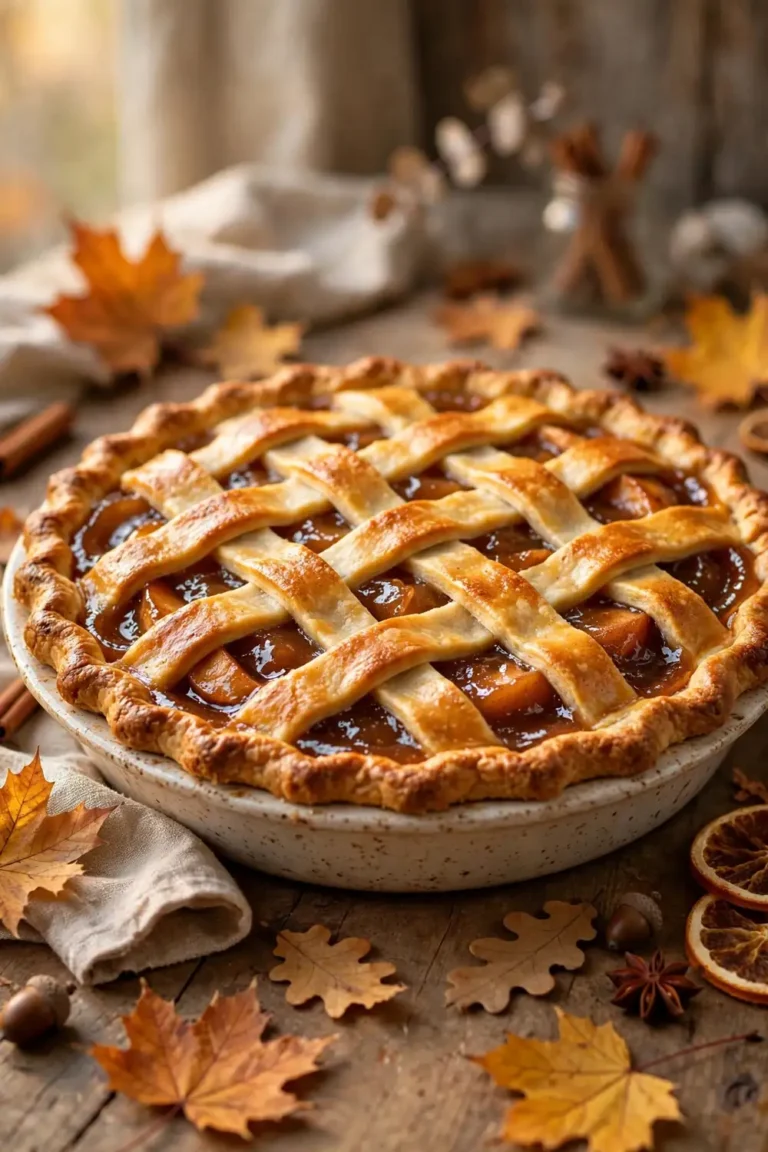
- Lattice top: Woven strips leave gaps that release steam all over.
- Center hole: A small round hole in the middle vents the deepest filling.
- Fork pricks: Quick pricks around the edge vent a sealed double crust.
- Wide slits: Longer slits suit juicy fillings that bubble hard.
Vents let steam escape instead of trapping it under the crust. Without an escape, pressure builds, juice boils over, and the top turns soggy. Cut the vents before baking, keep them open, and watch for steady bubbles rising through them. Open vents mean the filling can thicken and the crust can bake crisp.
Bake Until Bubbly

Before: The pie looked golden, yet the first slice collapsed, juice ran everywhere, and the crust turned soggy. Baking until bubbly shows the filling has thickened all the way through.
After: Precooked, thickened, and cooled fully, the same pie slices clean with glossy, set filling. Thick bubbles in the vents mean the filling is ready to set as it cools.
Bubbling vents prove the filling has reached a full boil and the starch has activated. Wait for thick, slow bubbles that pop lazily, not thin juice that runs fast. A fully bubbling pie sets as it cools, so give it at least three hours on a rack. Cutting early turns even a perfect filling watery.
Cool Fully First

Do This:
- Use firm apples.
- Precook the filling.
- Use enough cornstarch.
- Cool fully before slicing.
Avoid This:
- Do not use soft apples alone.
- Do not skip the thickener.
- Do not slice warm.
- Do not underbake the filling.
Keep this list beside the oven while the pie bakes and cools. Precook the filling, use enough thickener, and let the pie cool completely before slicing. Each step protects the next one, and skipping any of them lets juice escape. A patient finish gives clean slices with glossy, set filling.
Bottom Crust Crisp

Time Needed: 30 minutes of prep, 1 hour of baking, 3 hours of cooling.
Difficulty: Medium, with patience.
Cost: Apples plus pantry staples.
Result: Clean slices with glossy, set filling.
A crisp bottom crust starts on a hot lower rack with steady heat, not a cool middle one. Use the facts above to set your plan before you start. When you know the time, the tools, and the target result, each step feels calmer and more certain.
Slice With Care

A sharp knife and a cool pie make the difference between clean slices and a puddle. Cut with one firm press, not a sawing motion that drags filling out. Wipe the blade between cuts so each slice starts clean. Let the pie cool for at least three hours, since warm filling runs no matter how sharp the knife is.
Serve slices on warm plates so the filling stays glossy, not stiff. A small spatula under the slice keeps the bottom crust intact. Neat slices show the thick filling and crisp layers you baked for.
Reheat Without Soggy
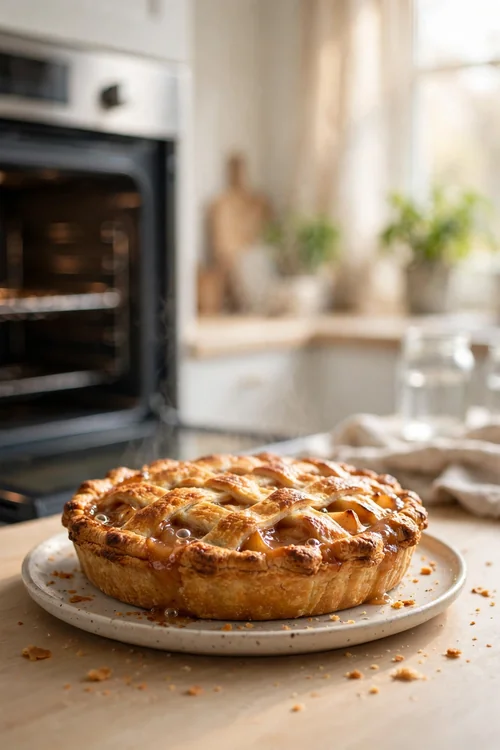
Leftover slices reheat best in a hot oven, where the crust crisps again and the filling warms through. A microwave turns the crust soft and the filling loose. Work through the steps below, and serve each slice warm with a crisp base.
- Bake until juices bubble thickly.
- Cool the pie for at least 3 hours.
- Slice with a sharp knife.
- Reheat slices in the oven, not the microwave.
Final Set Check

Quick Tip: Jiggle the cooled pie gently before slicing. A filling that barely moves has set, while a sloshing center needs more time.
Wait for thick, slow bubbles, a deep gold crust, and a fully cooled pie before you cut. Those three signs together mean the starch set and the juices turned glossy. A patient finish gives slices that hold their shape from the plate all the way to the fork.
Conclusion
With these fixes, watery apple pie can turn into a result you are proud to serve. Start with the biggest cause, change one thing at a time, and taste as you go so you know what actually helped. Small, steady adjustments beat a full recipe overhaul, and they teach you how your oven, your pans, and your ingredients behave. If you want one more rescue to study, read these flat snickerdoodles fixes and add them to your baking notes. Keep this guide nearby, trust your senses, and enjoy the next batch.