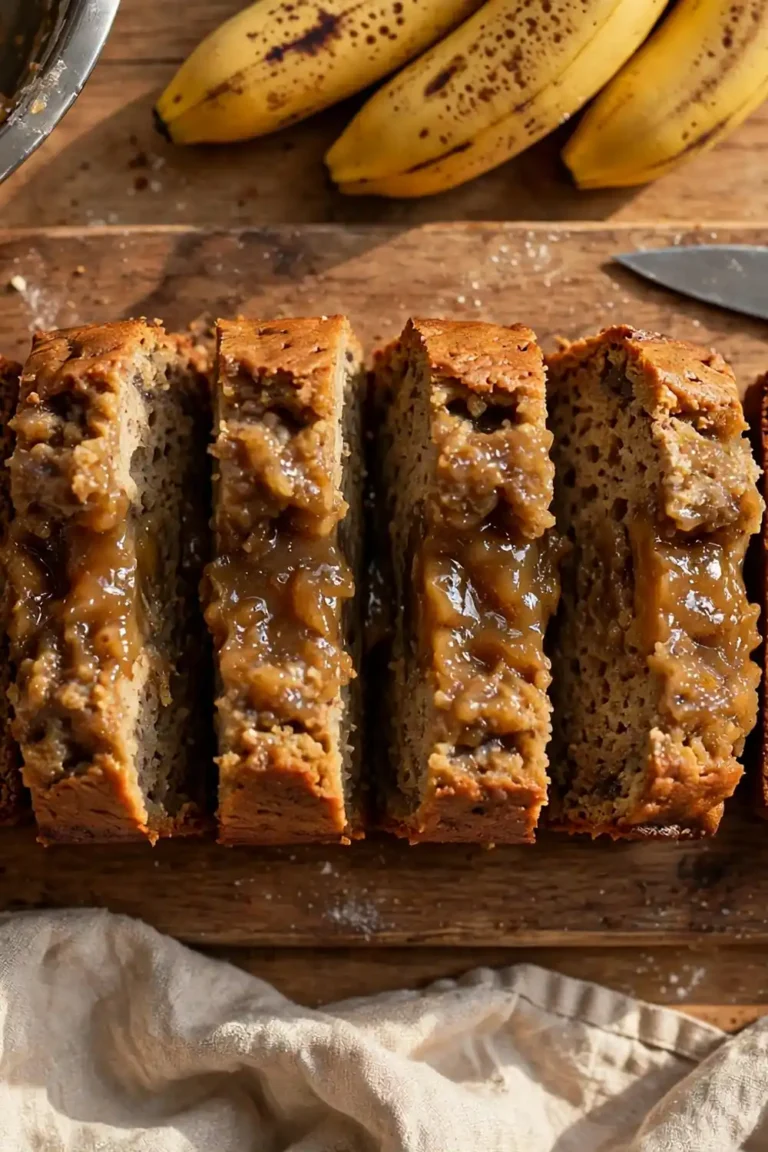
How To Fix Overbaked Dry Cake? Easy Fix Guide
If your overbaked dry cake turned out dry and crumbly, you are not alone. Most dryness comes from too much time in the oven, an oven that runs hot, or a pan that is too small and forces a long bake. The fix usually comes down to a few small choices you can change next time.
This guide walks through what went wrong, the exact steps that fix it, and the habits that keep it from happening again. Spot the weak step, adjust it, and test the result with a small batch first.
Work through the sections in order, or jump to the fix that matches your batch. For another rescue, see weeping meringue fixes for soft peaks that hold their shape.
Why Cakes Dry Out

A dry cake usually comes down to oven heat, timing, or pan size, and each one is easy to check. In my experience, cooks blame the recipe when the real issue is one small habit that is easy to change.
Pull the cake a few minutes early, check with a skewer, and add a simple syrup soak to rescue a dry crumb. Try the change on a small test batch first, then compare it side by side with your usual method. The difference will tell you whether you found the true cause or only part of it.
Check Oven Temperature
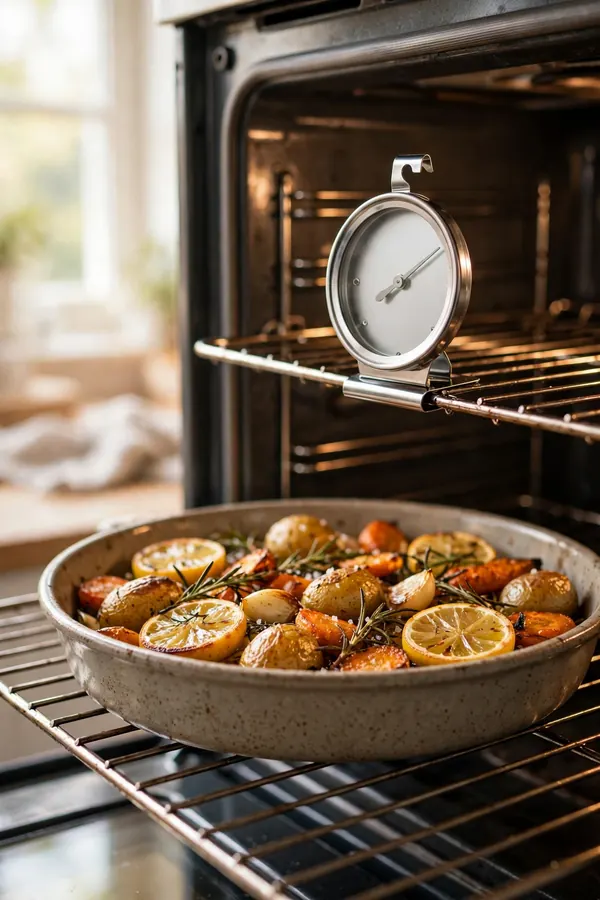
A dial can read 350 while real heat runs hotter, so a thermometer shows the truth before the cake dries. Follow the steps below in order, and give each one your full attention. Rushing the early steps is how the same problem comes back, so slow down where it counts.
- Set an oven thermometer and adjust the dial to a true 350 F.
- Set the timer 5 minutes short of the recipe time.
- Test the center with a skewer; a few moist crumbs mean done.
- Cool in the pan for 10 minutes, then turn out.
Test Early Always
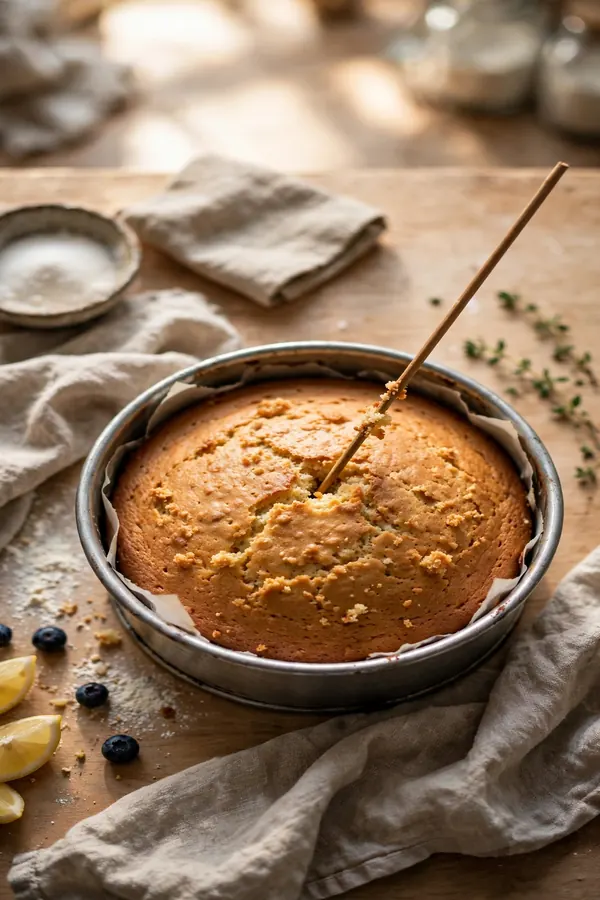
Quick Tip: A cake is done when the center springs back and a skewer shows a few moist crumbs, not when it looks dry all the way through. Write the tip on your recipe card so you remember it next time.
A skewer with a few moist crumbs beats a clean skewer every time. Keep the tip in mind while you work, and check the result before you move to the next step. Good cooking is mostly good timing, and a quick pause to look, smell, and taste will catch most trouble early.
Pick The Right Pan

Common Mistake: Many bakers wait for a fully clean skewer, but by then the cake is already overbaked. A clean skewer means the last moisture has left.
The Fix: Pull the cake when the skewer shows a few moist crumbs and the top springs back. Carryover heat finishes the center as it cools.
Once you fix the mistake, the rest of the recipe usually falls into place. Test the corrected step on a small batch, note what changed, and keep the new habit for every future batch. A small test bake shows the difference clearly before you commit to a full cake today.
Syrup Soak Rescue

What You Need:
- Oven thermometer: Shows the true temperature so you stop guessing.
- Simple syrup: Equal parts sugar and water, brushed on to add moisture.
- Parchment paper: Lines the pan and stops edge drying.
- Kitchen skewer: Tests the center without cutting the cake.
- Plastic wrap: Seals a warm cake and traps steam.
Gather everything before you start so you are not hunting for tools mid-recipe. Brush the syrup on while the cake is still warm so the crumb drinks it in instead of letting it pool on top. A calm, organized setup makes each step easier and keeps the timing on track.
Measure Flour Right

Before: The cake looked tall and golden, yet every slice crumbled, stuck in the throat, and needed a drink to finish. Measuring the flour by spoon and level keeps the crumb from drying out.
After: Pulled at the right moment and soaked lightly, the same cake slices clean, stays soft, and tastes rich. Measured flour gives the cake the tender crumb it should have had.
The change between the two is rarely dramatic on its own, yet the final result feels completely different. That is the power of fixing the root cause instead of covering up the symptom. An early pull and a light syrup soak together rescue a dry crumb completely every time.
Do Not Overmix

Do This:
- Use an oven thermometer.
- Test 5 minutes early.
- Line pans with parchment.
- Wrap layers while slightly warm.
Avoid This:
- Do not trust the dial alone.
- Do not wait for a clean skewer.
- Do not open the door constantly.
- Do not leave the cake in the pan.
Stir just until the flour disappears, since extra strokes build tough gluten and squeeze moisture from the crumb. Keep this short list beside you while you cook, and check off each point as you finish it. A simple checklist beats memory when the kitchen gets busy.
Cooling Mistakes Fixed
Time Needed: 10 minutes to test and rescue, plus cooling time.
Difficulty: Easy, with one thermometer.
Cost: Under a few dollars for syrup and parchment.
Result: A soft, moist cake that slices cleanly.
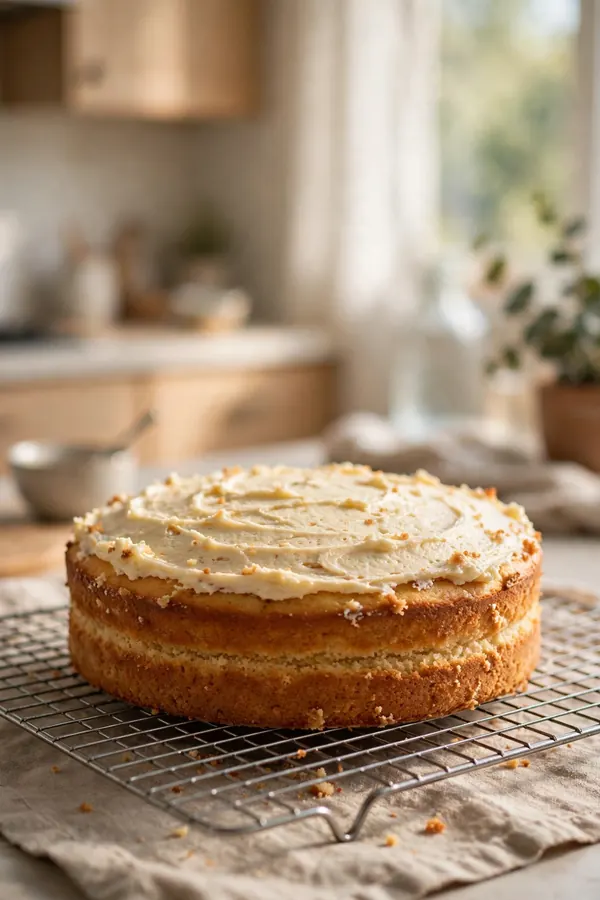
Cool the cake in the pan for ten minutes, then turn it out so trapped steam stops drying the crumb. Use the facts above to set your plan before you start. When you know the time, the tools, and the target result, each step feels calmer and more certain.
Frosting Adds Moisture
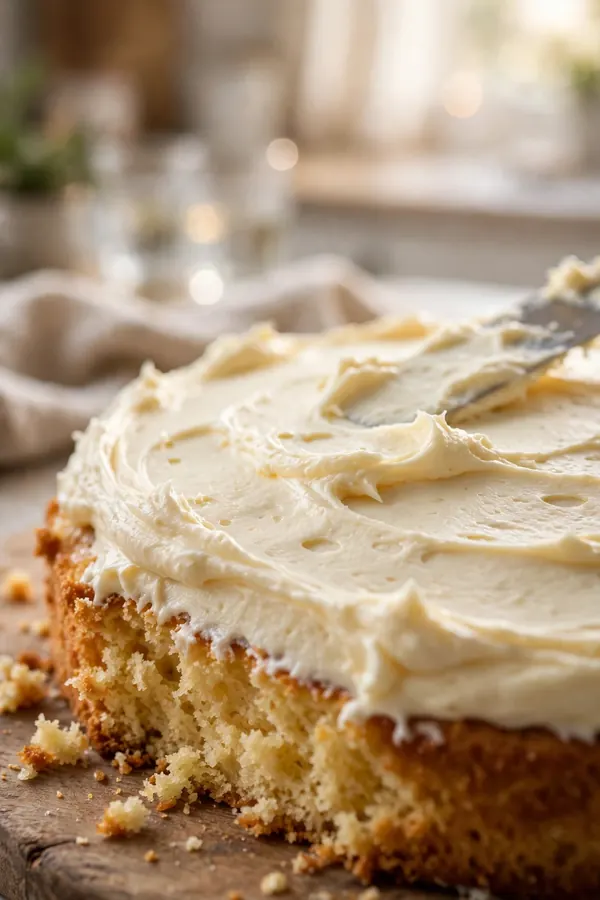
Frosting seals the cut surface and slows moisture loss, so a thin crumb coat works better than a thick coat applied late. Spread the first coat while the layers feel cool, and let it set before the final coat goes on. Chill the crumb-coated cake for twenty minutes so the final coat spreads cleanly.
A light syrup brush under the frosting adds moisture without making the layers soggy, and a sealed cake box keeps the frosting soft. Serve slices at room temperature, and return leftovers to the box after serving. Keep the box away from oven heat and direct sun.
Store Cake Correctly
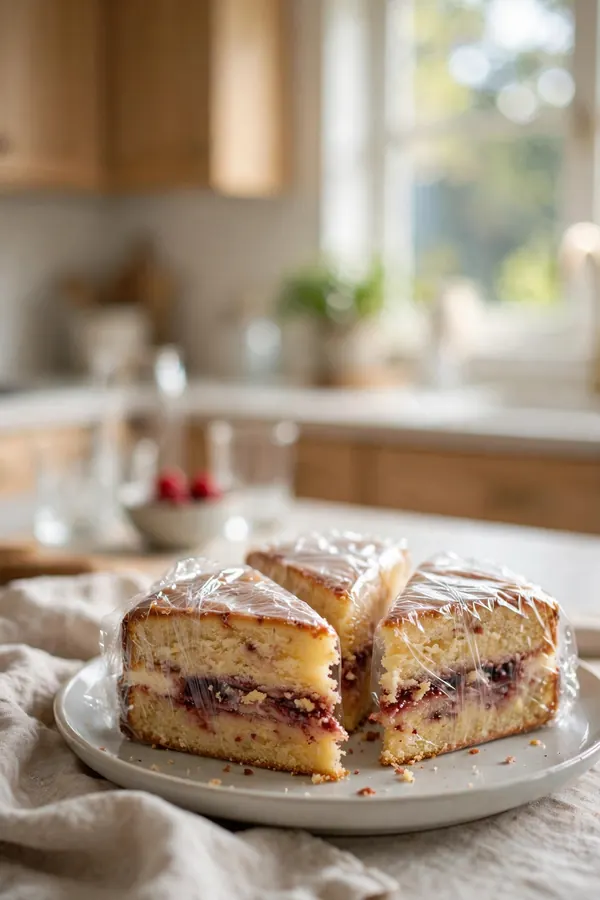
Wrap the cooled cake tightly and seal the box before the air dries the cut edges and the frosting crusts. Use the steps below to store layers, slices, and frosted cakes so each piece stays soft until serving. Mark the bake date on the box.
- Warm equal parts sugar and water until dissolved.
- Brush the syrup over each dry layer.
- Wrap the layers and rest for 30 minutes.
- Frost and serve the same day.
Final Moist Check

Quick Tip: Press the center lightly and watch it spring back without cracking. If the top feels firm and dry, serve the cake with sauce or cream. Note the oven time that worked for the next bake.
Judge the finished cake by slice, not by look: moist crumbs, clean cuts, and a soft bite from edge to center. If one layer still feels dry, brush it lightly and rest the cake before serving. A careful last check turns a rescued cake into one worth sharing.
Conclusion
With these fixes, overbaked dry cake can turn into a result you are proud to serve. Start with the biggest cause, change one thing at a time, and taste as you go so you know what actually helped. Small, steady adjustments beat a full recipe overhaul, and they teach you how your oven, your pans, and your ingredients behave. If you want one more rescue to study, read the bland cookies fixes and add them to your notes for next time. Keep this guide nearby, trust your senses, and enjoy the next batch.