Why Is My Bread Machine Loaf Collapsing? Easy Fix Guide
A collapsing bread machine loaf is heartbreaking after hours of waiting. The loaf rises high, then sinks in the middle, leaving a dense, gummy crater. The fix usually comes down to flour, yeast, or liquid.
This guide walks through each fix in order, from measuring to cycle to cooling. You need no special tools, just a little care and pantry staples. Most sunken loaves improve with one or two small changes. A careful measure beats a fancy recipe every time. Small fixes make a big difference here. Trust the process. For lumpy crepe batter instead, see our crepe batter guide for silky thin crepes.
Why Loaves Collapse
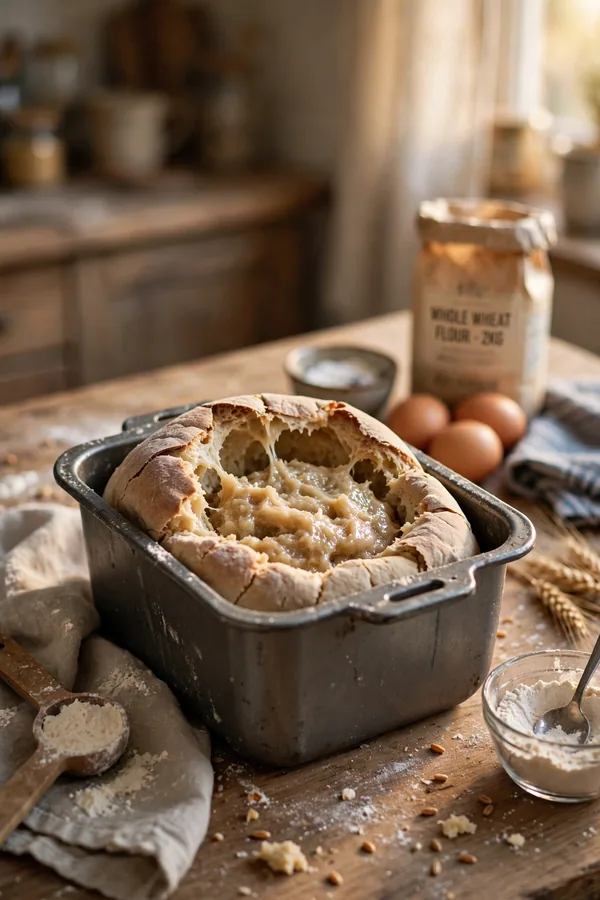
Loaves collapse for three main reasons: too much yeast, too much liquid, and weak flour. Extra yeast rises fast, then runs out of strength and falls. Too much water makes a slack dough that cannot hold its shape.
The good news is that each cause has a simple fix. Once you see which one hit your loaf, you can correct the next bake in minutes. Think of bread as gentle work, not a race. A few small changes make a big difference here. Your patience shows in every tall slice.
Measure Flour Right

Flour is the most common source of collapsed loaves, because scooping packs in far too much or too little. A cup scooped from the bag can vary by a quarter cup. Weighing flour fixes this problem in one move. Your scale is the cheapest baking upgrade.
- Weigh flour with a kitchen scale: 120 grams per cup is standard.
- If you lack a scale, spoon flour into the cup and level it off.
- Never pack flour down or tap the cup while measuring.
- Check the dough after five minutes of kneading and adjust.
Check Your Yeast

Quick Tip: Proof your yeast in warm water with a pinch of sugar before baking. If it foams within ten minutes, it is alive and ready. Flat water means dead yeast, and dead yeast never rises.
Store yeast in the fridge after opening, and check the date before each bake. Old yeast rises weakly, then falls mid-bake. In my experience, fresh yeast fixes more loaves than any recipe change. Test it every time. A ten minute proof saves hours of waiting.
Fix the Liquid Ratio
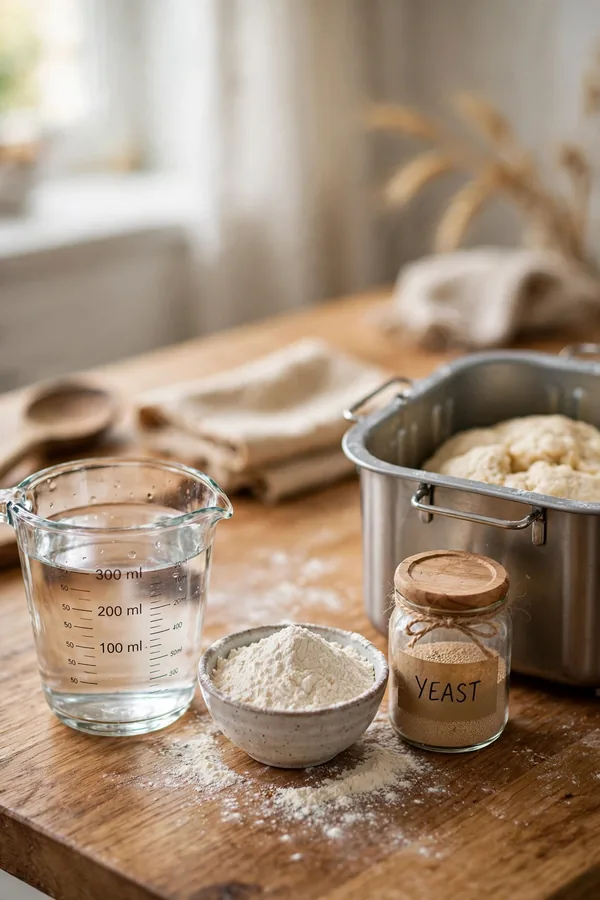
Common Mistake: Many bakers add all the liquid at once, then watch a wet dough rise fast and collapse. Too much water makes a slack dough that cannot hold gas or shape.
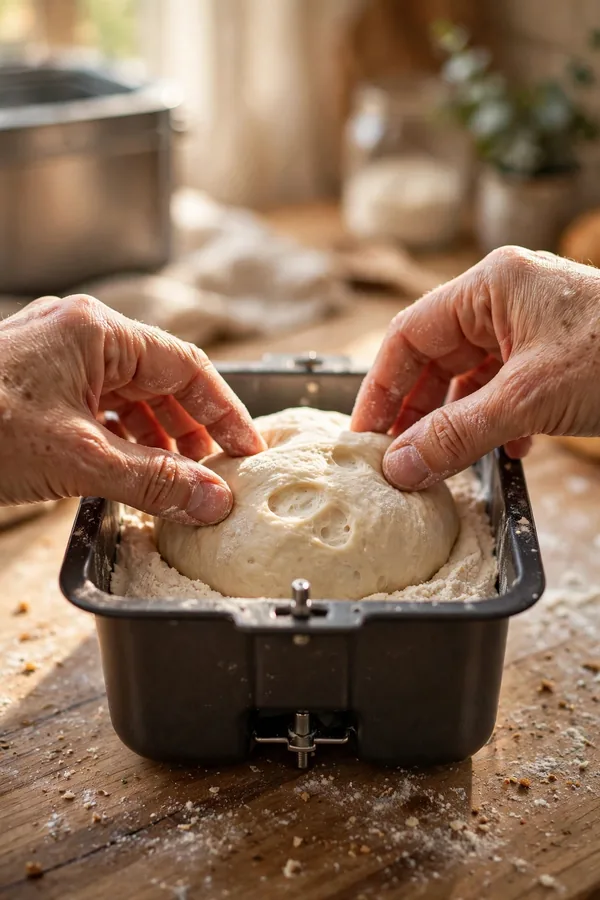
The Fix: Hold back two spoonfuls of liquid and add them only if the dough looks dry. The dough should form a soft ball that clears the sides of the pan.
Check the dough five minutes into kneading, since that is when the flour finishes absorbing. A tacky dough that sticks slightly is right. A wet dough that sloshes needs more flour, one spoonful at a time. Trust your eyes more than the measuring cup here.
Pick the Right Cycle

What You Need:
- Basic cycle: best for plain white and sandwich loaves.
- Whole wheat cycle: gives heavier flour more rise time.
- Rapid cycle: works only with fresh, strong yeast.
- Dough cycle: lets you shape and bake in the oven.
- Timer: check the dough five minutes into kneading.
The wrong cycle can overproof a loaf before baking starts. A long rise on a hot day pushes weak dough past its peak, and it falls. Match the cycle to your flour and the weather, then let the machine work. A calm pace beats a fast rise every time.
Salt, Sugar, Fat

Before: The dough rose wildly with extra sugar, then fell flat before baking finished. The crust sank, the center turned gummy, and slicing felt like a defeat.
After: The same recipe with measured sugar and salt rose steadily and held its shape. The crust turned golden, the crumb stayed even, and the loaf sliced clean.
Sugar feeds yeast, but too much makes it race and collapse. Salt slows yeast just enough to build strength. Fat adds tenderness and helps the crust brown. Balance all three and the loaf holds. Measure each one, since small amounts matter here. Trust the recipe ratios.
Shape and Support
Do This:
- Check the dough five minutes into kneading.
- Add flour one spoonful at a time if the dough is wet.
- Use the dough cycle to shape rolls by hand.
- Bake in the oven if the machine keeps collapsing loaves.
Avoid This:
- Do not add extra yeast to speed the rise.
- Do not open the lid during the rise.
- Do not use a rapid cycle on a hot day.
- Do not skip the salt, since it builds dough strength.
A bread machine does the work, but your eyes still matter. A quick peek during kneading tells you more than any recipe. Adjust early, and the machine finishes the job well. Small checks now save the whole loaf later. Stay nearby for the first ten minutes.
Flour Types Matter

Time Needed: About 3 hours, mostly hands off.
Difficulty: Beginner friendly with easy steps.
Cost: Uses flour and yeast you already own.
Best For: Sandwich bread and daily toast.
Bread flour has more protein and holds shape better than all purpose flour. Whole wheat flour needs more water and a longer rise. Match the flour to the cycle and the loaf stays tall. Read the flour bag before you start measuring. Small choices matter.
Cool the Loaf Well

Cooling matters more than most bakers expect. A loaf left in a hot pan keeps steaming and sinks under its own weight. A loaf rushed to the rack can crack and lose its shape.
Let the loaf rest in the pan for ten minutes, then turn it onto a rack. Cool fully before slicing, since a warm loaf still sets inside. A gentle cool-down protects the shape you worked hard to build. Never slice a warm loaf, since the crumb crushes. Patience here pays off in every slice. Wait for full coolness.
Rescue a Sunken Loaf

Already baked a sunken loaf? Do not throw it out. A dense loaf still makes great toast, crumbs, and sandwiches. The rescue takes minutes and no special tools. Start with the simplest fix first, and waste nothing. Every loaf has a second use.
- Slice the loaf and toast it for sandwiches or breakfast.
- Cube the crumb for croutons or bread pudding.
- Dry slices in the oven for breadcrumbs.
- Serve warm with butter so the texture matters less.
Next Loaf Checklist

Quick Tip: Keep this checklist near the machine for your next loaf. A glance before baking saves a rescue later. Soon the habits feel automatic, and every loaf lands tall and even.
Great bread comes from habits, not luck. Weigh the flour, proof the yeast, check the dough, and cool fully. Check the rise early, adjust the next bake, and enjoy a loaf that stays tall to the last slice. That is a loaf worth repeating. Your machine will thank you.
Conclusion
Tall, even bread comes from measured flour, fresh yeast, and the right liquid for your machine. Fix those three habits and collapsing bread machine loaf failures become rare instead of the usual result. Start with weighed flour, proof your yeast, and check the dough early. Your next loaf should rise evenly, hold its shape, and slice cleanly to the last piece. If another dish puzzles you, read our watery dal guide for thick dal fixes. Keep this guide handy and bake with confidence every single time at the table. Your family will ask for seconds.