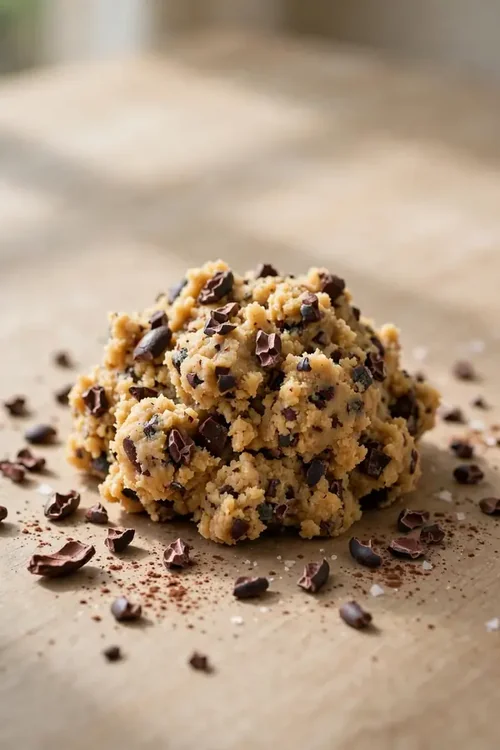
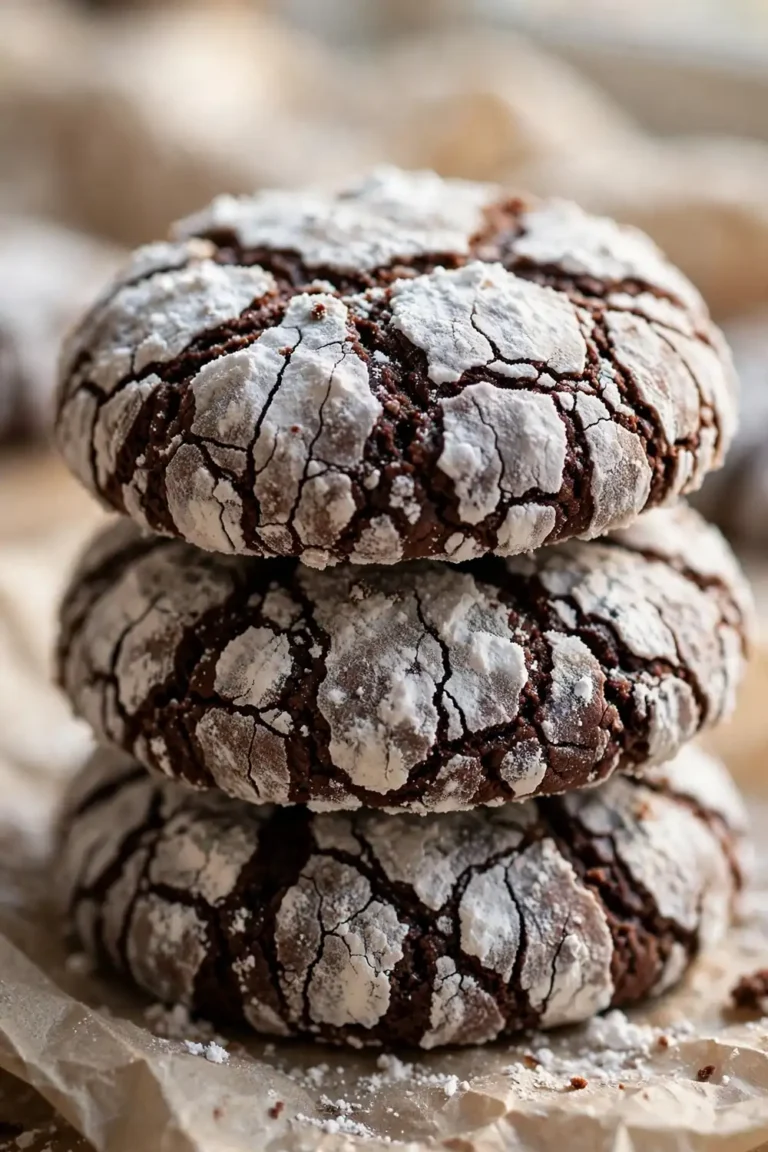
Why Is My Cookie Dough Too Sticky To Roll? Easy Fix Guide
If your sticky cookie dough clings to everything, you are not alone. Warm butter, extra liquid, and too little flour all make dough that will not shape. The good news is that chilling and small fixes tame it fast.
This guide covers chilling, butter, flour, and scooping. You will learn why the dough turns sticky and how to make it workable. Every fix uses basic tools and pantry staples. It works well.
Once your dough scoops cleanly, the next batter may need the same care, so keep the cake batter guide handy for a smooth, even, lump free cake batter.
Why Dough Turns Sticky
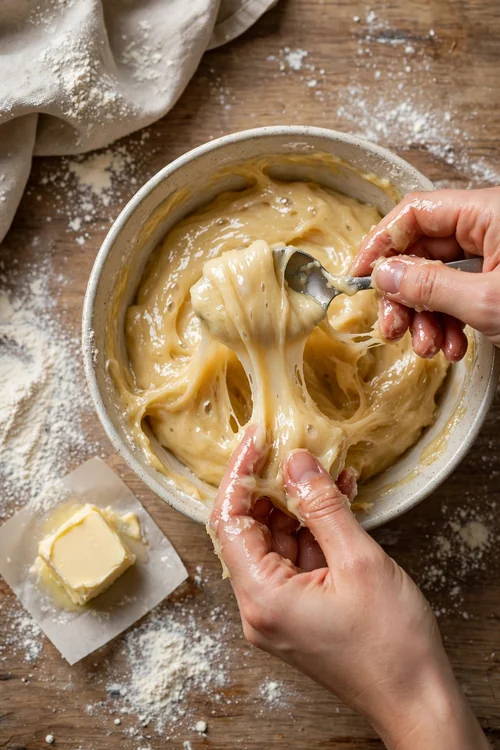
Most sticky dough comes from warm, melted butter that cannot hold the mix together. Butter that is too soft turns the dough into a wet paste, and the cookies spread flat in the oven. Too little flour makes it worse, since nothing absorbs the liquid. Keep the butter cool and the flour measured.
Warm kitchens make it worse too, since the dough softens as you work and the butter melts further. The fix is cold butter, measured flour, and chilling in stages. Cool dough holds its shape and scoops cleanly, and the cookies bake thick with soft centers.
Chill Dough in Stages
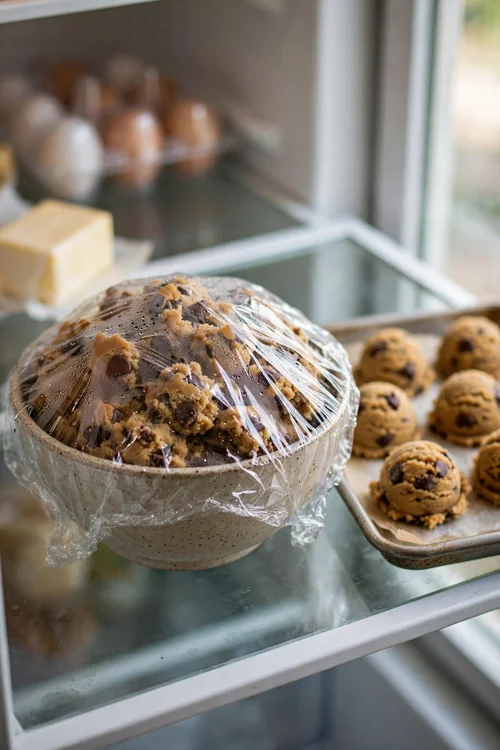
Chilling firms the butter and makes the dough workable, and it works better in stages. A short chill helps, and a long chill helps more, since cold butter holds the dough together. Chill the dough, scoop cold, and chill the balls again. Follow these steps for dough that scoops cleanly.
- Chill the mixed dough for 30 minutes.
- Scoop the dough into balls while it is cold.
- Chill the scooped balls for 30 minutes more.
- Bake straight from the fridge.
Flour Hands Not Dough
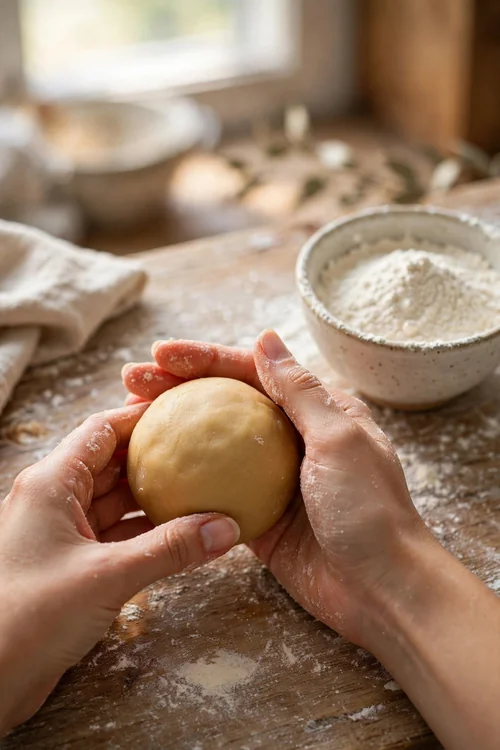
Quick Tip: Flour your hands, not the dough. A light dusting on your palms stops sticking without drying out the batch.
Adding flour to the whole batch is the most common mistake. Extra flour dries the dough and makes the cookies tough. A little flour on your hands, a cold scoop, and a quick touch will shape the dough without changing it. Work fast so the dough stays cold through the last ball.
Fix a Sticky Batch
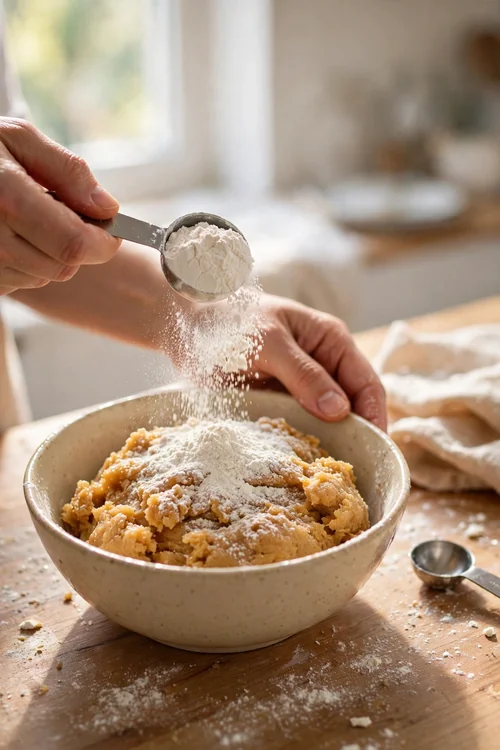
Common Mistake: Many cooks pour in a lot of flour at once. A big dump of flour turns sticky dough into dry dough, and the cookies turn hard.
The Fix: Add flour one tablespoon at a time, then chill. Small additions plus cold air fix the texture without drying it.
Work in small steps and test the dough after each one, since a little patience saves the batch. A good dough should feel soft but not cling to your fingers. If it still sticks, chill it for 20 minutes before adding more flour. Cold often fixes what flour cannot, and the cookies will bake thicker.
Measure Butter Right
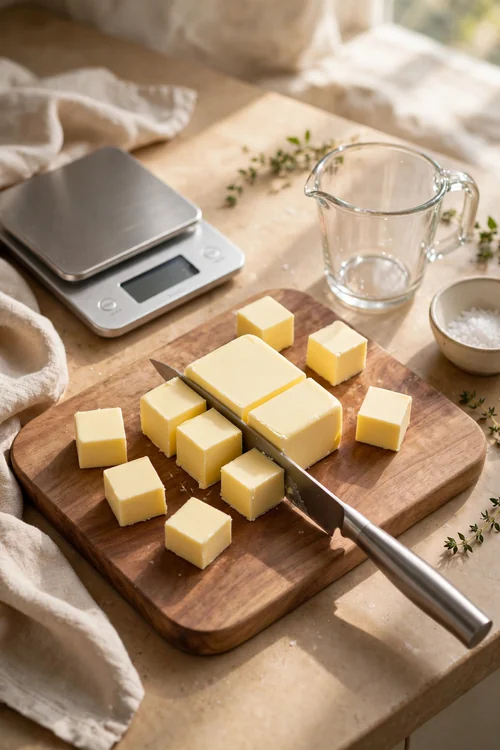
What You Need:
- Cool butter: firm but bendable, not melted or greasy.
- A kitchen scale: measures butter and flour exactly.
- Room temperature eggs: mix in evenly without curdling.
- A cookie scoop: shapes even balls without handling.
- Parchment paper: stops sticking on the tray.
Butter is the main cause of sticky dough, so its temperature matters most. Melted butter makes a wet dough, while cool butter creams into a firm base. Cut the butter into cubes and let it soften for 20 minutes, not an hour. The butter should bend without feeling greasy or shiny.
Before Sticky After Workable

Before: The dough clings to the spoon and your hands. It will not scoop, and the cookies spread into thin sheets.
After: The dough scoops cleanly into balls. The cookies hold their shape and bake thick and soft.
The change comes from cold butter, measured flour, and chilling, not from a new recipe. Keep the butter cool, measure carefully, and chill in stages. Those habits turn a sticky mess into dough that works, and the difference shows in the first scoop. Keep the routine steady, and every batch will scoop cleanly.
Do and Don’t Basics
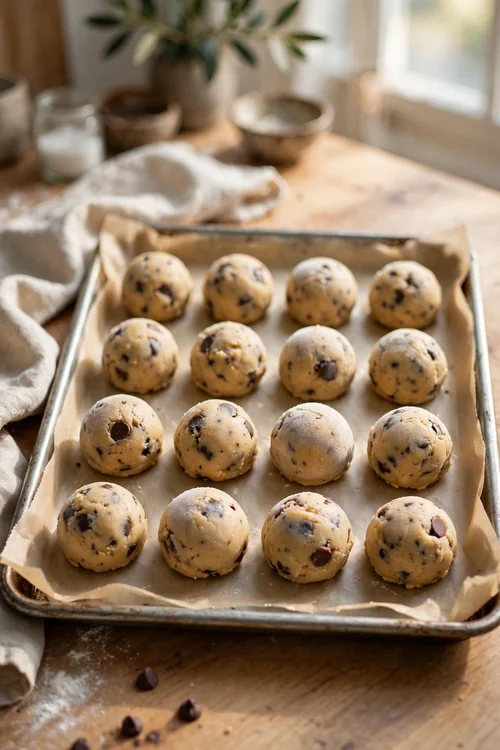
Do This:
- Use cool, firm butter.
- Measure flour and butter exactly.
- Chill the dough before scooping.
- Use a scoop for even balls.
Avoid This:
- Do not use melted butter.
- Do not dump in extra flour.
- Do not handle warm dough for long.
- Do not skip the chill.
These habits keep dough workable from bowl to tray, and they work for every batch. Cool butter, exact measures, and chilling are the whole secret, and none of them needs special equipment. Once the routine is set, scoopable dough becomes the normal result at your table. Repeat the routine, and easy dough follows every time.
Quick Dough Facts
Time Needed: 15 minutes mixing plus 1 hour chilling.
Difficulty: Easy, with basic tools.
Best For: Drop cookies, cutouts, and bars.
Pro Tip: Chill scooped balls for thicker cookies.
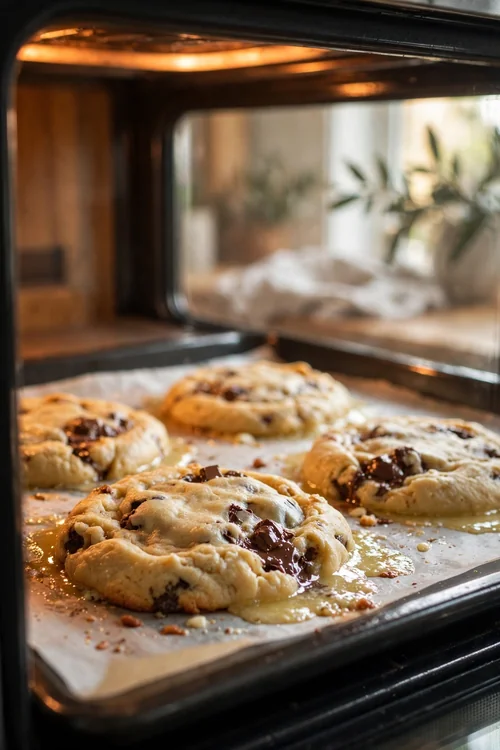
Chilled balls spread less in the oven, so the cookies bake thicker with soft centers. Scoop the dough, chill the balls for 30 minutes, and bake straight from the fridge. The edges will set while the centers stay tender, and the cookies will look thick. A short chill is the easiest upgrade for any batch.
Scoop Then Chill

Scooping before the final chill gives the neatest balls, and the order matters. Cold dough scoops cleanly, and a second chill firms the balls so they hold their shape in the oven. Scoop first, chill second, bake third, and the cookies will hold their shape. The sequence keeps the butter cold.
Line the tray with parchment so the balls release easily after baking. If the dough softens while you scoop, return the bowl to the fridge for 10 minutes. Working in short, cold bursts keeps the dough workable to the last ball, and the cookies will bake evenly.
Rescue a Wet Batch

A wet batch can still be saved with cold air and small flour additions, so do not toss it out. Chill first, add flour slowly, and test the texture before scooping. Cold air does most of the work here. Follow these steps to rescue a wet batch and bake it.
- Chill the dough for 30 minutes.
- Test with a spoon, and add one tablespoon of flour if needed.
- Chill 20 minutes more.
- Scoop into balls and chill again.
- Bake straight from the fridge.
Bake From Chilled

Quick Tip: Bake straight from the fridge. Cold dough spreads slowly, so the cookies bake thick with soft centers.
Baking from chilled is the final step that protects the shape. Warm dough spreads into thin, crisp sheets, while cold dough holds its form. Set the tray in the oven at once, and do not let the balls sit on the counter. The same dough will bake far better straight from the cold.
Conclusion
Fixing sticky cookie dough comes down to cool butter, measured flour, and chilling in stages. Those three habits give workable dough that scoops cleanly. Once they are routine, easy dough takes no extra effort.
Work through these fixes one at a time, and your next batch will show the difference. Keep notes on what worked, so the fix gets easier every time you cook.
Chill first, add flour slowly, and bake from cold. For another batter that splits and misbehaves, see the banana bread guide, then bake your cookies while the dough is still chilled.