Why Does My Bread Have A Big Hole Under The Crust? Easy Fix Guide
A hole under bread crust is a strange failure, because the loaf looks perfect until you slice it. The crust separates from the crumb, leaving a hollow gap that ruins sandwiches. The usual causes are trapped air, over proofing, and a fast, steamy oven spring.
You will learn how to shape firmly, score correctly, proof to the right point, and bake with steam so the crust stays attached. The fixes work for sandwich loaves, boules, and baguettes alike.
Once the method clicks, your loaves will slice evenly, and the next guide on scrambled eggs shows how to keep eggs soft instead of rubbery.
Why Crusts Lift Away

The crust lifts when a big pocket of gas sits just under the surface. During oven spring, the gas expands, and the crust balloons away from the crumb instead of rising with it. A pocket forms when gas collects under the crust instead of spreading through the crumb.
Over proofed dough is the main cause, because the gluten weakens and the crumb cannot hold the gas. Rough shaping that traps air also creates the gap. The fixes below address each cause. Firm shaping and a full proof help the gas stay evenly spread.
Oven Spring And Steam

Oven spring is the burst of rise in the first minutes of baking. Steam keeps the crust soft so it can stretch with the loaf. Steam keeps the crust soft for the first minutes, so the loaf can rise fully before the crust sets.
- Preheat the oven fully, with a baking stone or steel inside if you have one.
- Load the loaf quickly and add steam right away.
- Bake hot for the first 10 minutes, then reduce the heat.
- Do not open the door during the first 15 minutes.
Shaping Without Trapped Air

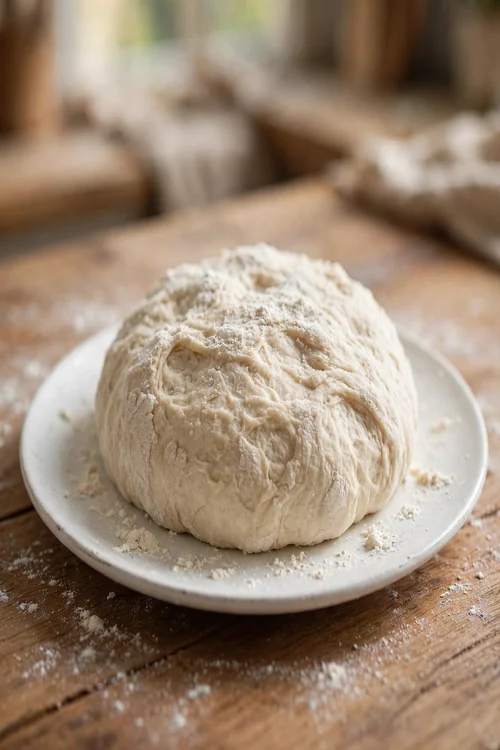
Quick Tip: Shape firmly and evenly, pressing out large air pockets as you roll or fold. The dough should feel taut and smooth, with no bubbles visible under the surface.
After shaping, let the loaf rest for a few minutes, then check for bubbles. Prick any large surface bubble with a pin. This small step prevents the biggest gaps. Check the shaped loaf after its rest and press out any large bubbles near the surface.
Scoring For Even Rise
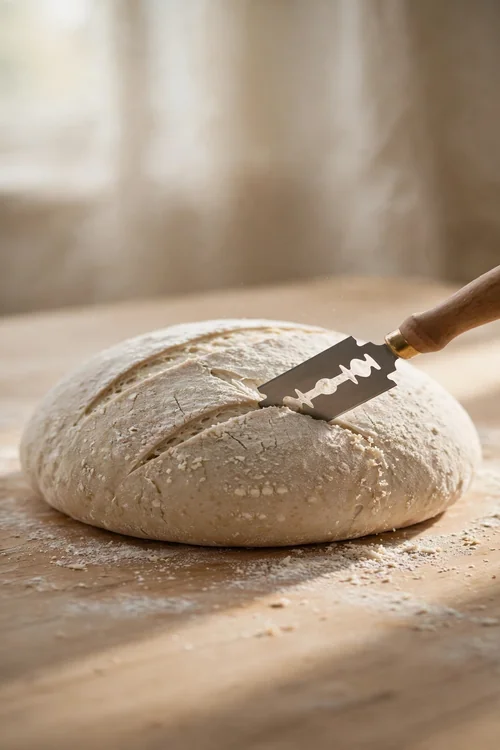
Common Mistake: Many bakers skip scoring or cut too shallow. The crust seals, steam builds up underneath, and the top lifts away in a sheet.
The Fix: Score the loaf with a sharp blade, about a quarter inch deep, in one confident slash. The cut gives steam a controlled escape route.
For sandwich loaves, one long slash down the center works well. For boules, a cross or square pattern opens evenly. Keep the blade wet or oiled for a clean cut. For round loaves, a cross cut lets the top open evenly in all directions. Keep the blade wet so it glides.
Proofing Time Matters

What You Need:
- Bench scraper: Lifts and shapes dough without tearing it.
- Lame or sharp knife: Scores the loaf cleanly for even expansion.
- Baking stone or steel: Gives strong bottom heat for a good oven spring.
- Spray bottle: Adds steam to a home oven quickly.
- Wire rack: Cools the loaf evenly so the crust stays attached.
A sharp blade matters more than a fancy lame. Use whatever cuts cleanly, and keep it sharp. Use a kitchen timer for proofing, since dough looks done long before it truly is. In a cool kitchen, proofing can take twice as long. A warm spot near the oven helps in winter.
Fixing Lifted Crusts

Before: Before, my sandwich loaves looked great but sliced into hollow shells. The crust lifted in one piece, and the sandwiches fell apart.
After: After shaping more firmly, scoring deeper, and proofing a little less, the same recipe gives loaves that slice evenly from end to end. The crust stays bonded to the crumb, and each slice holds together for sandwiches.
The fix is in the handling, not the recipe. Firm shaping and correct proofing decide whether the crust stays attached. Bake on a preheated stone or steel if you have one, since strong heat boosts oven spring. A hot surface also gives a crisper base.
Steam In Home Ovens

Do This:
- Shape firmly to press out large bubbles.
- Score a quarter inch deep before baking.
- Proof until the dough springs back slowly.
- Cool on a rack for at least one hour.
Avoid This:
- Do not over proof the shaped loaf.
- Do not skip scoring.
- Do not slice a hot loaf.
- Do not bake in a cool oven.
These habits keep the crust bonded to the crumb. Once they feel routine, hollow loaves become rare. Cool the loaf fully before slicing, since cutting early crushes the soft crumb. A full hour on a rack gives the cleanest slices. Do not rush this rest, since warm bread crushes easily.
Cooling Bread Properly

- Time Needed: About 15 minutes of shaping plus proofing.
- Difficulty: Easy to medium, mostly feel.
- Cost: No extra cost beyond a blade.
- Best For: Sandwich loaves, boules, and baguettes.
Proofed dough should spring back slowly when poked, leaving a small dent. Steam for the first 10 minutes keeps the crust stretchy. Cooling for a full hour sets the crumb and keeps the crust attached. Store bread cut side down on a board for the first day, which keeps the crumb from drying.
Slicing Without Crushing

If the crust already lifted, serve the loaf as toast or croutons. Toasting crisps the separated crust, and the hollow center becomes a feature rather than a flaw. Thick toast with butter turns a lifted crust into a fine breakfast. The heat firms the crumb and the butter fills the gap.
For sandwiches, slice the loaf thickly and press the crust back with the filling. A warm panini press bonds crust and crumb together nicely. Cube the loaf for croutons, tossing them with oil and salt. Baked croutons keep for a week in a sealed jar.
Serving Even Slices

Steam in a home oven is simple. You do not need a professional steam oven to get the benefit. Slice with a long serrated knife using slow sawing strokes, not downward pressure. Let the knife do the work and the slices stay even.
- Place a metal tray on the lowest rack while preheating.
- Pour a cup of hot water into the tray as you load the loaf.
- Spray the loaf lightly with water before closing the door.
- Remove the tray after 10 minutes so the crust can crisp.
Bread Crust Checklist

Quick Tip: Cool bread on a rack for at least one hour before slicing. Cutting early lets steam escape and can loosen the crust from the crumb.
Patience at the end protects all the work you put into shaping and proofing. A fully cooled loaf slices cleanly and keeps its crust attached. Keep a short note of the proofing time that worked, since every kitchen runs at its own pace. The next loaf will be easier to judge.
Conclusion
A gap under the crust is fixable, and it rarely means a bad loaf. When hole under bread crust appears, check your shaping, proofing, and oven steam first. Shape firmly to press out large air pockets, score to let steam escape evenly, and bake with steam for a crust that stays attached. Cool the loaf on a rack so moisture does not loosen the crust. With these habits, your loaves will bake evenly from crust to crumb. For the fix that came before this one, see our heavy cake guide for a lighter crumb.